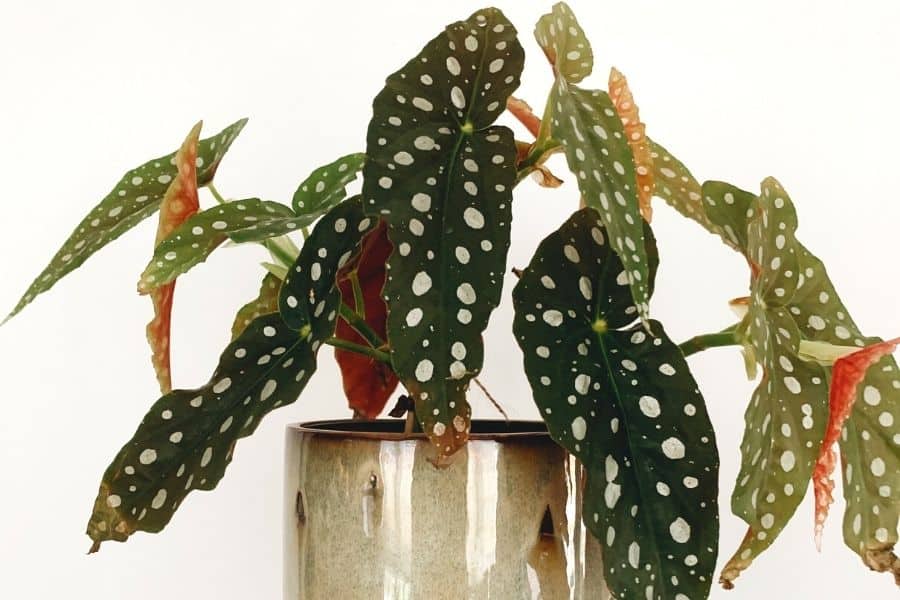
The beautiful Begonia maculata is also known as the Polka Dot Begonia. This plant is noted for its colorful leaves with white dots that can grow to about 8" (20cm) in length. The Polka Dot Begonia is a tropical plant that naturally grows in the tropical rainforests of Brasil. It is an easy plant to take care of and will be a great addition to your indoor garden collection. To fully understand this plant, here's a complete Begonia maculata care guide, including how to water the plant, the best soil to use, what environment it likes, and how to propagate it.
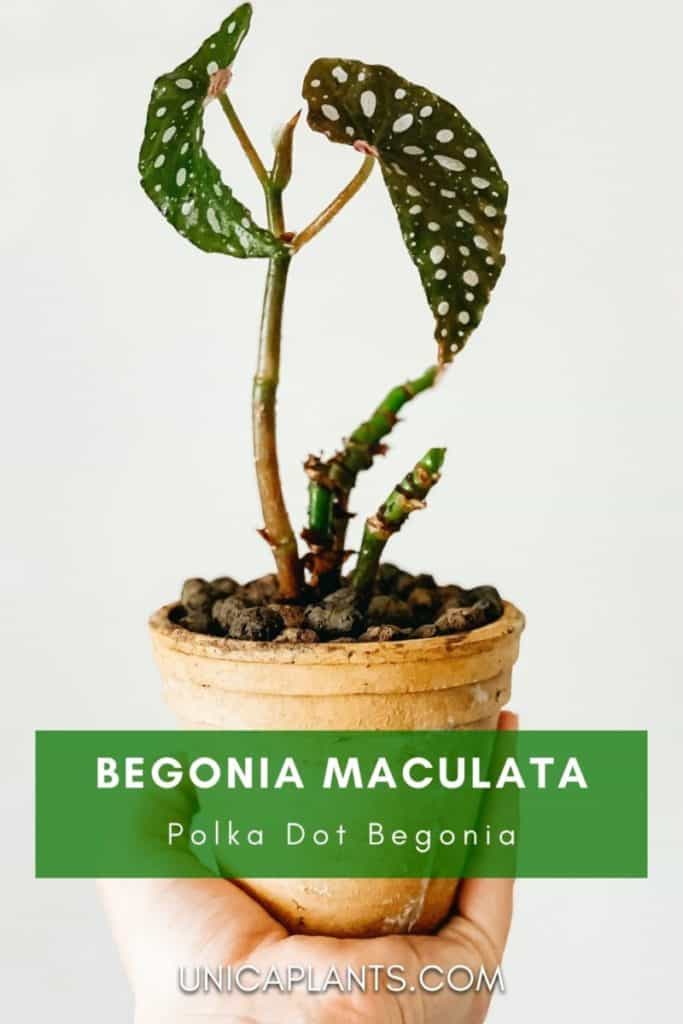
Summary:
- Light: Bright indirect sunlight
- Water: Only water when the top 1" (2,5 cm) of the soil is dry
- Soil: Regular potting soil
- Size: The plant grows up to 5' (1.5 m) tall
- Size: The plant's leaves grow up to 8" (0.2 m) in length
- Zone: 11 (minimum 40°F | 4.4°C)
- Cold hardy: Not cold hardy
- Propagation: By stem cuttings, leaf cuttings, or seeds
- Toxicity: Toxic to humans and pets
Contents
General Care for Begonia maculata (Polka Dot Begonia)
The secret to growing a Begonia maculata is to mimic its native habitat. It's therefore important to give the plant the right amount of warmth, bright indirect light, and most importantly a high humidity.
Watering
The Begonia maculata, just like most Begonias, likes to be watered regularly but doesn't like to have moist soil at all times. With the Begonia maculata, you only want to water the plant if the top 1" (2,5 cm) of the soil is dry. You can find out if the plant needs water by putting your fingers in the soil. If the soil is moist, you want to come back 2 or 3 days later and check again. If the soil is dry, it's time to water the plant.
The roots of the Polka Dot Begonia are thin which means they are sensitive to overwatering and will cause the roots to rot. On the other side, it won't hurt the Begonia if you forget one or two waterings, but having the plant dry for too long can cause stress on the plant which will negatively affect the growth and health of the plant.
Where to Plant
The Polka Dot Begonia is not cold hardy, so if you live in a zone that gets colder than 40°F (4.4°C) it's best to put this plant in a container. If the weather is going down in the winter months, you can bring the plant indoors.
It does well in bright indirect sunlight. Plant in an area that gets a lot of bright light, but avoid direct sunlight as the direct sunlight will quickly burn the plants' leaves.
Light is a very important factor for the Polka Dot Begonia, but what is more important is the humidity factor. Because the Begonia maculata is a tropical plant, it likes high humidity. This is why it will grow best in bathrooms or greenhouses.
How to Propagate Begonia maculata (Polka Dot Begonia)
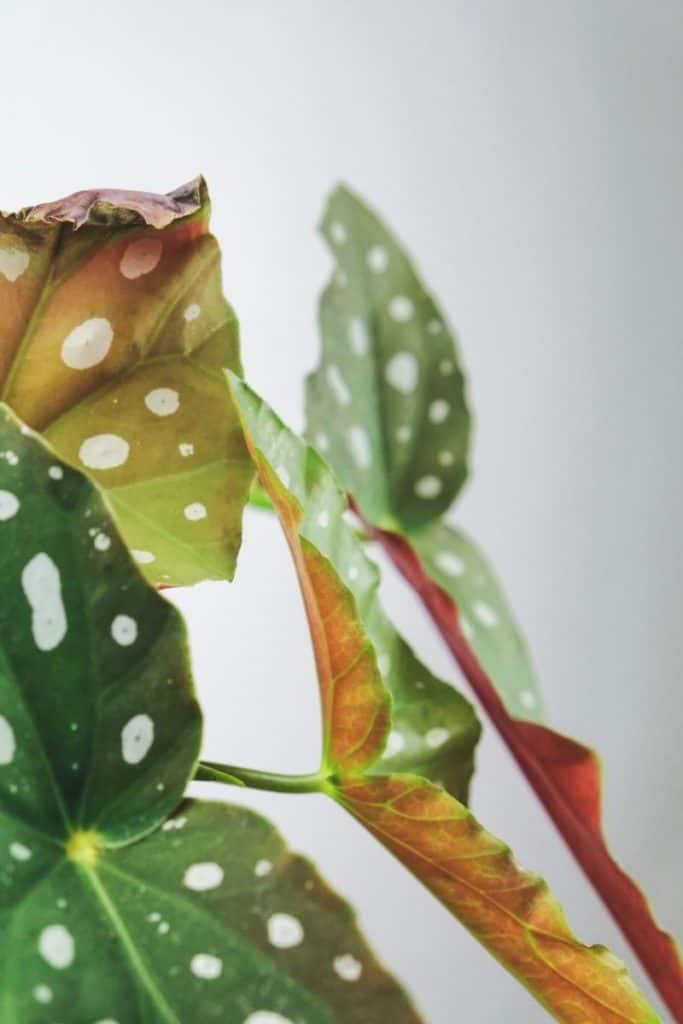
If you love this plant, I have great news for you: the Begonia maculata is actually very easy to propagate! If you have one, you can have many! You can propagate this plant by a couple of ways, but the easiest way is to use stem cuttings in water.
Stem cuttings in water
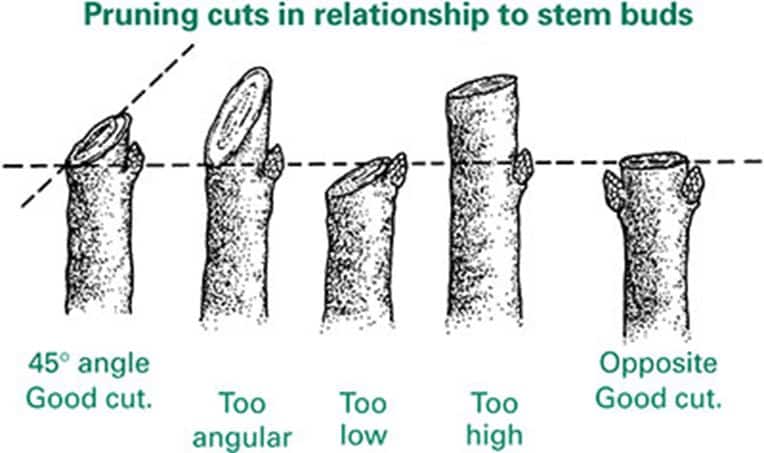
The easiest way to propagate the Polka dot Begonia is by stem cuttings in water. First, you want to take a sharp knife or pair of scissors and make sure they're disinfected (with isopropyl alcohol). Then pick a healthy stem and cut it 0,5" (1,25 cm) above a growth point (leaf) while making sure you have at least 6" (15cm) of stem on the cut and one healthy leaf and one healthy leaf.
Then you want to take a vase and fill it with water. Next, put the Begonia cut in the vase with the bottom of the cut submerged in the water and place the vase in a spot where it gets a lot of bright indirect sunlight. Now the only thing you have to do is wait (up till three months).
It can take a long time for the stem to produce roots, especially when the environment is not optimal. But when the stem has produced roots that are about 2 inches (5cm) you can plant the stem in regular (organic) potting soil.
Stem cuttings in soil
The first part of this propagation method is the same stem cuttings in water. First, you want to take a sharp knife or pair of scissors and make sure they're disinfected (with isopropyl alcohol). Then pick a healthy stem and cut it 0,5" (1,25 cm) above a growth point (leaf) while making sure you have at least 6" (15cm) of stem on the cut and one healthy leaf.
Then you want to dip the ends of the cuttings in rooting hormone to stimulate the cuttings. After dipping the ends of the cuttings in rooting hormone, it's time to plant them in soil. Fill a small pot with a diameter of 4" (10 cm) with regular potting soil and place the cuttings in the soil.
The final step is to create a humid environment for the cuttings to grow. The easiest way to do this is to place the pot with the cuttings inside a transparent ziplock-bag and mist the plant every 2 days.
You also want to make sure the bag has a little opening, this way the plant will still be able to take in the oxygen that it needs.
Now you can place the pot with the cuttings (inside the bag) in bright indirect sunlight and wait a couple of months until the cuttings start growing.

Leave a Reply