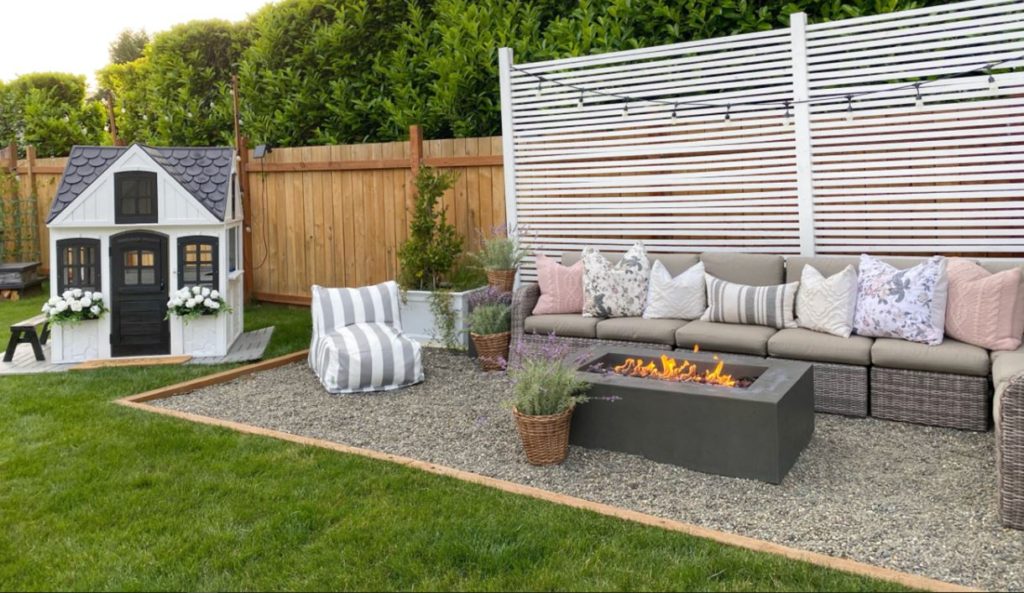
Knowing the various pea gravel patio pros and cons (advantages and disadvantages) will help you decide if this loose patio material is perfect for you or not. You don’t want to miss out or end up with any regrets.
Besides the pros and cons, we intend to look at some pea gravel patio costs per yard, ton, or square, ideas, and DIY tips to make your project a success, should you decide it is what you want.
With all this information, it will be easier to assess and determine if this kind of patio material is ideal for you or not.

Contents
- What pea gravel?
- Pea gravel cost per ton, yard, bag, and square foot
- Pea gravel patio pros
- 1. Affordable
- 2. Easy to install
- 3. With a pea gravel patio, drainage is better
- 4. Natural-looking, blends well and is aesthetically appealing
- 5. It doesn’t allow weeds to grow
- 6. Easy to maintain
- 7. Comfortable to walk on
- 8. You can create any shape
- Pea gravel patio cons
- 1. Moves, shifts, and spread
- 2. Furniture may sink and be uneven
- 3. Not comfortable and cumbersome for wheelchairs or strollers
- 4. Requires some maintenance and constant refilling
- 5. Present a choking risk
- 6. Not easy to de-ice
- How to install a pea gravel patio
- Pro ideas and tips for success
What pea gravel?
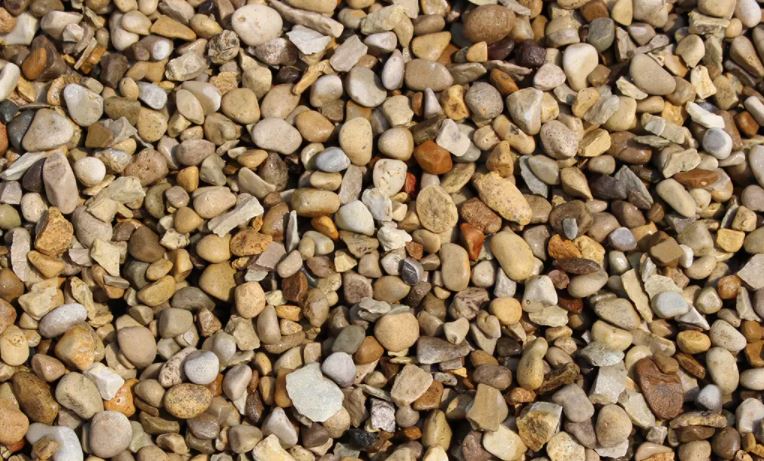
Pea gravel refers to naturally formed small stones that measure about 3/8 of an inch (with typical size of ⅛-inch to ⅜-inch) or are about the size of green peas, the leguminous seeds of Pisum sativum.
They are formed by natural weathering and erosion of other existing stones or rocks before being carried by water to creeks, oceans, seas, lakes, or river beds, and at times riverbanks, seashores, beaches, and so on).
During transportation or wave action, friction or erosion mills or wears them making them have a very smooth surface and a more or less round shape.

Kindly don’t confuse pea gravel with crushed stones, as the former forms naturally while the latter is manufactured by crushing larger rocks with angular shapes and jagged edges.
For instance, some products labeled as pea gravel, such as limestone pea gravel, aren’t naturally formed but crushed stone products.
Besides use on the patio, other typical uses of pea gravel include topdressing walkways, dog runs, dog runs, and other places with high traffic. Also, it has applications in construction, drainage projects, fish tanks, pipe bedding, and flower beds, and you cause to use them to accent gardens.
Pea gravel cost per ton, yard, bag, and square foot
Before going to pros and cons, it is good to tell you how much pea gravel costs per ton, yard, or even square foot before going to pros and cons. Knowing this will make overall cost estimation easier and how well it compares with other patio materials.
Plain pea gravel cost per ton is $10 to $50 or about $15 to $75 per cubic yard. If you want fancy-colored pea gravel, you will spend the price will increase by $20 to $50, depending on the rarity of the color. These costs are not inclusive of shipping prices.
The pea gravel price is between $4 and $8 per bag, while the plain type costs $4 to $6 per bag.
What about per square foot? How much will it cost? To get the pea gravel cost per square foot, you need to consider the depth you expect. Typically, the depth should be 4-6 inches to stop plant growth, and you will get the price by considering the price per yard.
Example
Let us use a depth of 6 inches to work for you the equivalent prices per square foot
- 1 yard = 3ft
- Volume = Length x Width x Height = L x W x H
- 1 cubic yard = L x W x H = 3 x 3 x 3 = 27 cubic feet
However, since L x W = Area. It is correct to say that Volume = Area x Height and we already know that our height (depth) is 6 inches or 0.5 of a foot (use same units, i.e., foot.
To get the area that a yard of this gravel will cover, divide the volume by depth or height, i.e.,
Volume = Area x Height, therefore, Area = Volume/depth
- Our volume is 1 yard = 27 cubic feet.
- Our depth = 0.5 feet
Area (square foot) = 27/ (0.5) = 54 square foot
Remember, the cost is $15 to $75 per yard, and it will cover 54 square feet at a depth of 6 inches. Therefore, to get the price per square foot, divide by the area, which is 54.
Cost per square foot at a depth of 6 inches =15/81 to 75/81 = $0.28 to $1.39
Therefore, if a yard goes for $15 to $75 and you intend to have your patio 6 inches deep, the cost per foot will be $0.28 to $1.39. Quite affordable!
Finally, if you have a larger project, you may get better prices or free shipping. Always ask for any offers or discounts when buying your gravel.
Pea gravel patio pros
Some of the pea gravel patio pros or advantages you deserve to know to include the following:
1. Affordable
Pea gravel is the most affordable patio material you can ever purchase. Firstly, pea gravel is very cheap, i.e., the national average price is $0.94 per square foot, and if you consider a depth of six inches, the price is $0.28 to $1.39, as we have seen above.
Additionally, the installation costs, including labor, are low. It’s just digging to and tamping. You don’t need any special tools or subbase material, sand, etc., so long as you ensure the depth is at least 4-6 inches.
Let’s look at other paving materials installation costs
- Pour concrete: $3 to $6 per square foot
- Concrete pavers: $8 to $15 per square foot
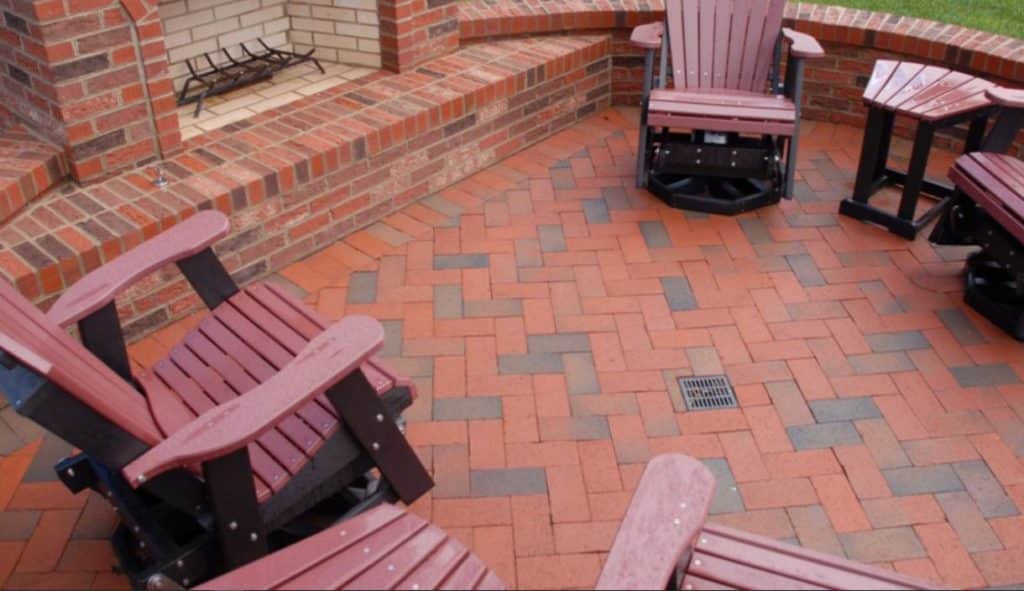
- Brick pavers: $10 and $20 per square foot
- Stone pavers: $12 to $25 per square foot, with some going as high as $50 per square foot
The above cost doesn’t include site preparation and subbase. It is only the cost of buying and or installation labor.
Therefore, the pea gravel patio is the cheapest DIY option if you are on a budget. Even if you include labor, the installation price will still be meager, about $0.5 to $1.5 per square foot.
2. Easy to install
The second advantage of having a pea gravel patio is the ease of installation, a reason why labor costs are low. All you need to do is dig and remove some dirt up to 6 inches, tamp the beneath soli to be firm, edge, and fill your patio with gravel and rake it.
You don’t need any special skills, and the work is not laborious compared to installing pavers where the base has to be impeccably even, and you have to lay each paver one at a time.
The entire installation work will take a day or two when working alone, depending on its size. You will see more when we look at how to install a pea gravel patio.
3. With a pea gravel patio, drainage is better
Since it allows water to seep or soak through it into the ground and not runoff, a pea gravel patio will help prevent soil erosion and boost quicker drainage. You will not have water puddles, and you don’t need to grade your patio to incline to allow surface water runoff.
Surface water runoff is a problem of majorly concrete patios or seal stones fixed with mortar as sealing prevents water percolation to the ground.
4. Natural-looking, blends well and is aesthetically appealing
Pea gravel comes in various colors, including grays, yellows, off-whites, beige, white, buff, tan, red, yellow, rust-browns, blue, translucent, and so on. It all depends on which rocks weathered.
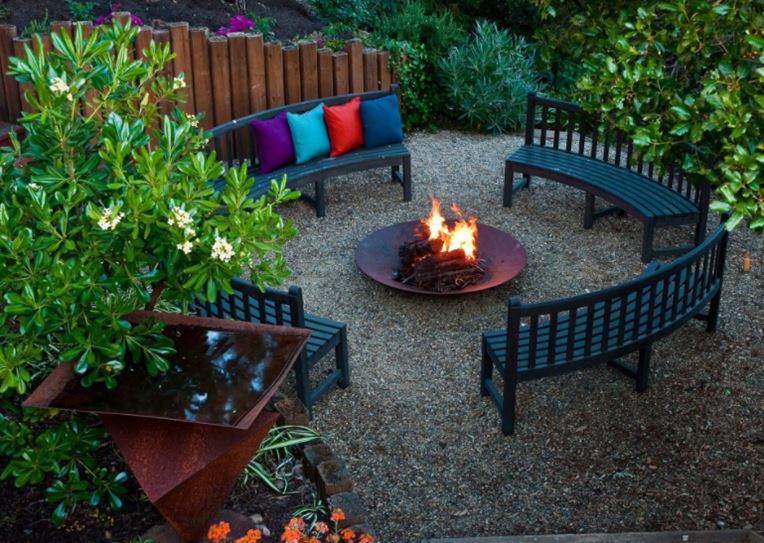
The availability of the many colors allows you to blend your gravel patio with your landscape and other outdoor fittings for the most natural and stunning looks.
Also, you can mix the various colors to create a unique-looking patio that everyone will never stop admiring. Your creativity is the only limit here. Whether you want warmer, grey, peachy, neutral, or earthy tones, you will have them.
5. It doesn’t allow weeds to grow
Unlike pavers, where you may end up with unsightly grass growing between pavers, especially if installed with sand, a pea gravel patio with depths of the least 4-inches will prevent weed growth. You don’t need to spend extra money buying landscaping fabric.
However, having a good landscaping fabric will make your patio even more weed-proof, something everyone wants.
6. Easy to maintain
Once correctly installed, your pea gravel patio requires very little maintenance compared to pavers or concrete. You don’t need to seal it from time to time. It doesn’t crank, or decompose, and cleaning is also effortless. Perhaps, the only thing you need to do is rake to help keep the surface even and occasionally refill.
7. Comfortable to walk on
Compared to crushed stones with sharp edges and angular shape, the smooth surface, small size, and almost round surface will make your foot relatively comfortable and bearable as you walk even barefoot.
Large stones would be uncomfortable to walk on, and the sharp edges of sand or gravel screening may stick in your shoes. You don’t want to end up with grit on your hardwood floor.
Furthermore, pea gravel is safe for your dogs, including large ones (won’t hurt their paws), and your kids will love playing on your patio (even some playgrounds have it). Just ensure your kids don’t spread it from the patio area as they dig and play.
8. You can create any shape
Like poured concrete, your gravel patio can have any shape you like. Also, you will not have constraints that pavers may have that keep cutting them to fit well.
Pea gravel patio cons
You have seen the various pros. It is time to look at the cons, drawbacks, or downsides of a pea gravel patio.
1. Moves, shifts, and spread
The first drawback of a pea gravel patio is the moving, shift, or spread. It has a round shape and a smooth surface, making it hard to compact.
Therefore, the gravel will move from the patio area you, your dog, or children, walk in and out and end up in your lawn, garden, around the patio, or walkways.
However, you can mitigate this problem with edgings such as plastic, wood, bender boards, metal, or paver stones but not 100%, and you will incur an extra cost. Additionally, you will have to keep raking to help keep the gravel in place.
2. Furniture may sink and be uneven
Furniture on pea gravel patio may sink as the gravel shifts, making chairs and tables uneven. The sinking is particularly more common if you are using dining sets. Additionally, this loose patio material will shift each time you pull or slide a chair.
Therefore, avoid sliding furniture, and pick furniture with wider legs as it will not sink quickly. Chairs such as the Adirondack styles may work better on such surfaces.
Also, go for a 6-inch gravel depth or include a firm base with large crushed stones, as these two actions will help enhance stability and curb the furniture sinking problem.
3. Not comfortable and cumbersome for wheelchairs or strollers
We did say they are bearable, which is true. However, since the gravel isn’t compatible, it does slide beneath the foot, making walking uncomfortable.
Also, such a surface is hard to drag something like a baby stroller, a wheelchair, suitcase, etc. People with mobility impairment issues and wheelchair users are the most affected and will find such a patio, not a great choice.
4. Requires some maintenance and constant refilling
Du to shifting and sinking if your soil type isn’t so firm, you may have to refill your patio every few years or more often have children who move the gravel away as they are playing.
Also, it would help if you kept raking it to ensure it remains even and remove any fallen leaves, lawn clippings, or twigs.
However, we don’t think racking or refilling shouldn’t be a big issue since pea graves are widely available and affordable, and cleaning/racking isn’t a cumbersome experience.
Just invest in an excellent metallic rake, and the rest will be a breeze.
Finally, to reduce the sinking problem, have a subbase if you live in places with clay soil type, i.e., it allows more sinking. We don’t think you need geo ground grind or honeycomb stabilization as a driveway or landscaping project would need.
5. Present a choking risk
Since the stones are small in size, they do present choking hazards to your kids and pets. However, this is more of a superficial rather than a common occurrence. Just don’t put any food on the patio surface for your pets.
6. Not easy to de-ice
While freezing and thawing are unlikely to make the gravel crack, it is easy to de-ice. For smaller ice, use a leaf blower. If so thick, shove it until you have a thin layer that de-icing salts can help melt.
How to install a pea gravel patio

You know the pros, cons, and pricing. Let’s look at some basic steps to follow when you are installing your pea gravel patio. We won’t go into much detail.
- Once you have decided on the location, begin by marking the area where you want to install your patio. Use spray paint to draw the line along where you want it to be.
- Using a straight-edge shovel (which gives better lines), cut soil along your mark.
- Start digging the dirt out with your shovel or an electric tiller/cultivator like Sun Joe if you want the job done faster or the patio is huge. It would be best if you went to depths of 4-6 inches.
- Once you have removed all the dirt, you need to tamp the surface to make it compact and stable. Compacting will ensure patio stability and prevent sinking problems. A plate compactor or tamper will do the work just fine.
- Add some gravel, install your edging, fill to the level you need, and rake it even before tamping again to make it a little compact.
Pro ideas and tips for success
The below steps will help you install your gravel patio just fine. However, here are tips that will ensure tremendous success.
- Avoid installing your gravel at shallow depths as this will make them muddy when it rains.
- To prevent sinking, install a base using coarsely crushed rocks. A depth of about 2 inches will suffice. Afterward, you can add about 4 inches of gravel.
- To make your patio weed-proof, consider placing a landscape weed control fabric before adding your pea gravel. If you are installing a base, pace this weed barrier after the base. Landscape fabric will also prevent muddying.
- If you don’t want to trip or toe stub, ensure your edging is at the same level as your grass from the entrance sides.
- Instead of buying your own tiller/excavator, a tamper, or even a dumb cat with quick release, you can always rent them. It will make a considerable saving.
.


Amar Devi
I need an email or phone number for Wikiwiki, I’m so frustrated with Amazon for a product I purchased, email me with a phone number i can reach back.
Rush reply
Amar Devi