You can propagate Monstera node without leaf, and many vendors sell Monstera adansonii, obliqua, or even Monstera albo stem node. When buying one, ensure the node is healthy. Why? Because propagating Monstera without node is impossible.
We have everything you need to know about Monstera nodes, like meaning and why they are essential. We will also talk about buying and propagating them successfully.
Contents
Monstera node and internode
Your Monstera’s node is the knobby or bulged area on the stem where a leaf, aerial roots, or shoot grow. It has an auxiliary bud between the petiole or leaf stalk and stem. Also, it may have aerial roots, leaf, and a leaf scar or not.
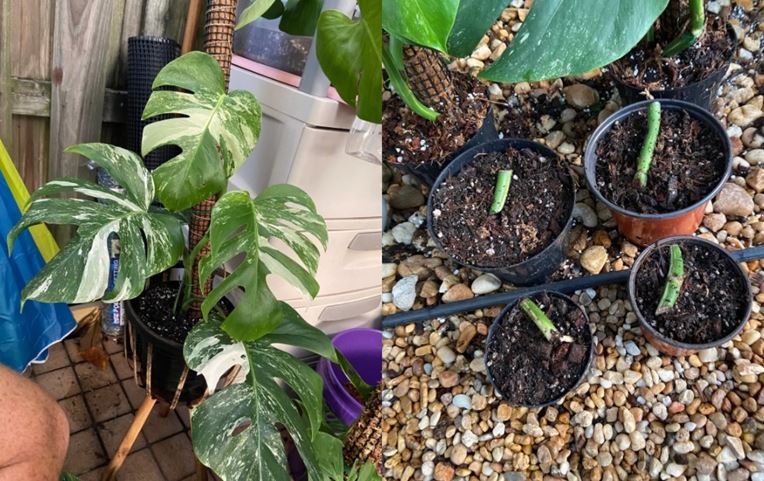
On the other hand, the internode is the space between two nodes. It doesn’t grow aerial roots in Monstera species, and the length varies from one species to another.
Nodes and buds are critical because they are sites with meristems. Meristems are nothing but tissues of undifferentiated cells that can divide to give plant structures, including a new shoot or roots.
Nodes can self-renew, making them essential for healing. Also, lots of biological activities happen here.
Last but not least, even without a shoot or leaf, the node has a bud that may appear as a bump. It is there, just dormant. But, when necessary, it will give rise to a new shoot.
Can I propagate Monstera without a node?
No. You cannot propagate Monstera without a node. Why? Because without a node, a Monstera plant can’t grow a new shoot. As seen, it is where to expect roots and new growth.
It, therefore, means that you cannot also propagate Monstera from aerial roots, no matter how long they are, leaf, petiole (leaf stalk), or a stem without a node. They will rot or die with time.
Can I propagate a Monstera stem node (without a leaf)?
You can propagate a Monstera stem node without a leaf. Leaves only help in making food for the plant. Just ensure that it is healthy. Its green skin can make some food too.
Should I buy a Monstera stem node
We understand that many vendors sell Monstera stem nodes, including the rare Monstera obliqua, Albo borsigiana, and so forth. Some even offer Monstera rooted nodes.
Below are a few of such vendors:
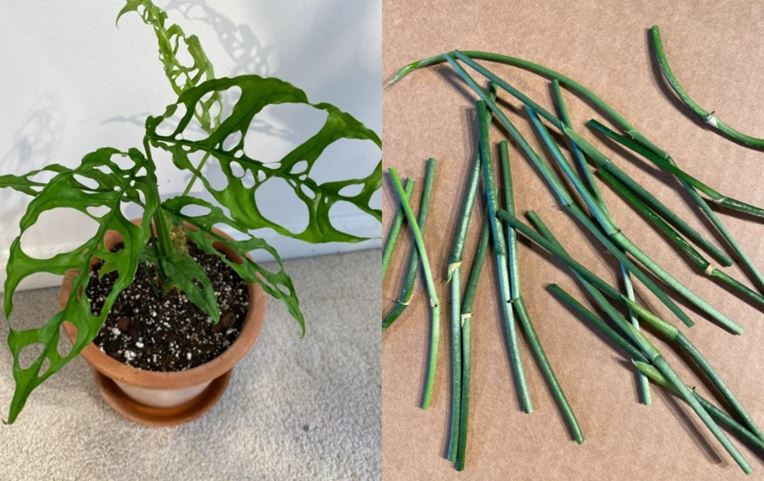
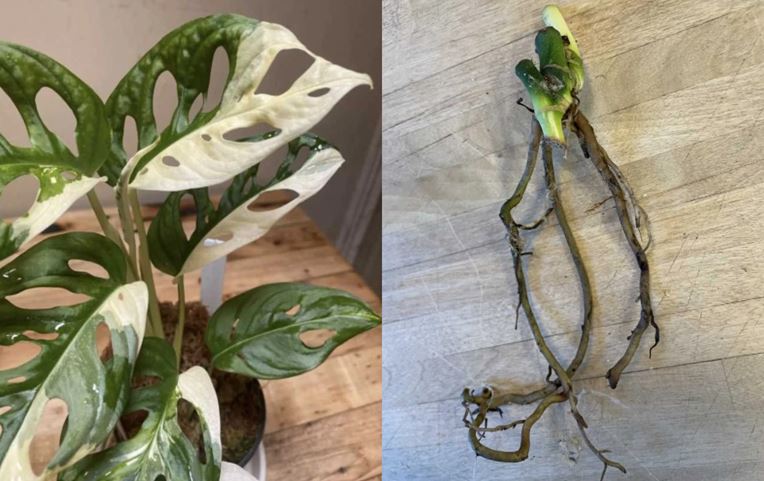
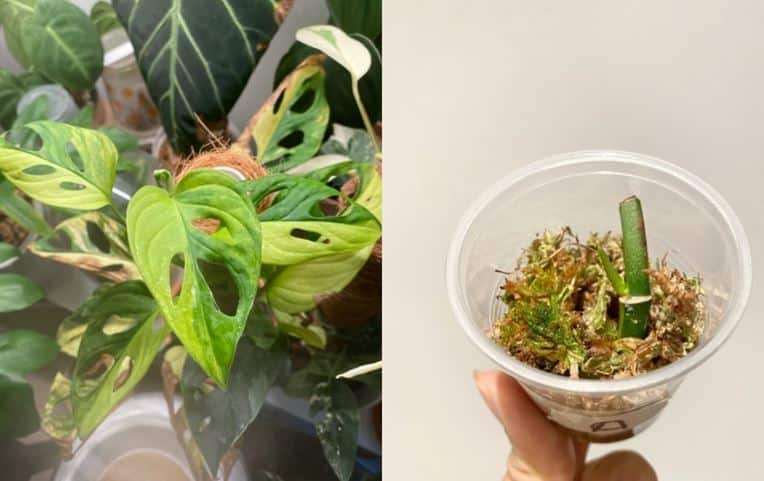
The stem nodes will come packaged well in moist sphagnum moss and are easy to ship. Also, they are much cheaper compared to buying a rooted plant or even a plant with a leaf. Why? Because can still sell them even if they have no or damaged leaf. Also, they are easy to ship.
The other reason why you are seeing plenty of stem nodes on sale, especially with M. obliqua, is because this plant sends leafless stolons or runners with nodes.
Monstera siltepecana and Monstera acuminata also have stolons, especially when they reach the peak of their climbing place. When this happens, they will drop leafless runners.
Should you buy a Monstera stem node? The answer is not a yes or no. But it depends on several factors.
To begin with, only buy from a trusted vendor. Check what other buyers are saying and ratings. Why? Since it doesn’t have a leaf, you cannot be sure it is the species, cultivar, or variety selling.
Secondly, if buying a variegated one, you cannot be sure if it will produce a variegated plant. If it has a leaf, you can be confident if the node has a variegated leaf.
We understand that variegated Monsteras also have streaks and markings on their stems. Check if yours has. But you cannot still be sure.
Last but not least, make sure the stem node is in good condition. Some may rot. A rooted one will be a safer option.
How to propagate Monstera node without leaf?
You can quickly propagate the stem node you bought or a stolon/runner.
What you need
- Sphagnum moss or a well-drained growth media.
- Transparent plastic bag or Ziploc plastic bag
- Rooting hormone. A brand like HydroDynamics Clonex Rooting Gel is perfect. It has minerals, trace elements and hormones necessary to speed rooting process.
- A shallow container or tray
Steps to follow
- Step 01: Soak sphagnum moss in water for about half an hour. Then wring it thoroughly to get rid of excess water. It should only be moist and not soggy.
- Step 02: Put your sphagnum moss in a shallow tray. Ensure the amount is enough to support rooting for several weeks.
- Step 03: Dip your Monstera stem nodes in a rooting hormone. While optional, it will increase the chances of faster rooting and prevent rot. We love HydroDynamics Clonex Rooting Gel. It is easy to apply and promotes quick rooting.
- Step 04: Lay your stem nodes on sphagnum moss with the part that has an aerial root facing down. New shoot and leaves grow on the opposite side.
- Step 05: Cover the tray with your plastic bag, leaving a small opening for breathing. If you don’t have a tray, you can place the sphagnum moss inside a transparent Ziploc bag and lay your stem nodes inside it. Then you can seal it.
- Step 06: Place your these cutting in a warm place with bright indirect light.
- Step 07: A few times a week, open the bag for an hour to let your plant breathe. You can also mist the sphagnum moss to ensure it remains moist.
What to expect
After about 4 to 5 weeks, you will start seeing a new shoot or growth with one or two small leaves. Please wait until the roots are long enough and transplant them to individual pots.
Transplanting and care
Once the roots are at least 3 to 4 inches and are satisfied with the new growth, you can transplant the propagated cutting to its growing pot. A six-inch nursery pot is ok.
Fill it with a well-drained potting mix rich in organic matter. Make a small hole and plant your cutting. Afterward, thoroughly water it.
Besides watering, here are additional care tips:
- Keep the soil moist until the plant adjusts and starts growing. Then you can let the top 2 to 3 inches of the soil dry before watering again.
- Maintain optimum growing conditions, i.e., bright indirect light (see Monstera light needs), humidity at least 50% or more, and temperature between 65 to 85° F(18 to 29° C). Avoid cold drafts, places near air conditioning vents or those that emit heat. Also, direct sunlight will cause sunburn.
- After four weeks, you can begin feeding your plant with an all-purpose liquid houseplant fertilizer, once a month only in spring and summer (growing season).
A little shock is normal
After transplanting, a little shock is ok. The leaves may droop or wilt a little bit or have brown tips and edges.
More signs include leaves curling and a few turning yellow or brown. But your plant should start putting new growth.


Leave a Reply